If you've currently got a Google Chrome theme, you can actually tinker about with it to make it that little bit more personalized.
So for example, you can change the default text colors and even change your Google Chrome theme to use your own picture!
It's really simple to do, just follow this step-by-step guide and you'll have it customized in no time!
Ready? OK let's get cracking:
Step 1:
The first thing you need to do, is make sure you've actually got Google Chrome installed on your computer.
If you haven't, just download Chrome and install.
Step 2:
Get yourself a decent text editor other than the standard notepad that comes with Windows.
My personal favourite is Notepad++, some people like Sublime, but you can choose any that you prefer.
Step 3:
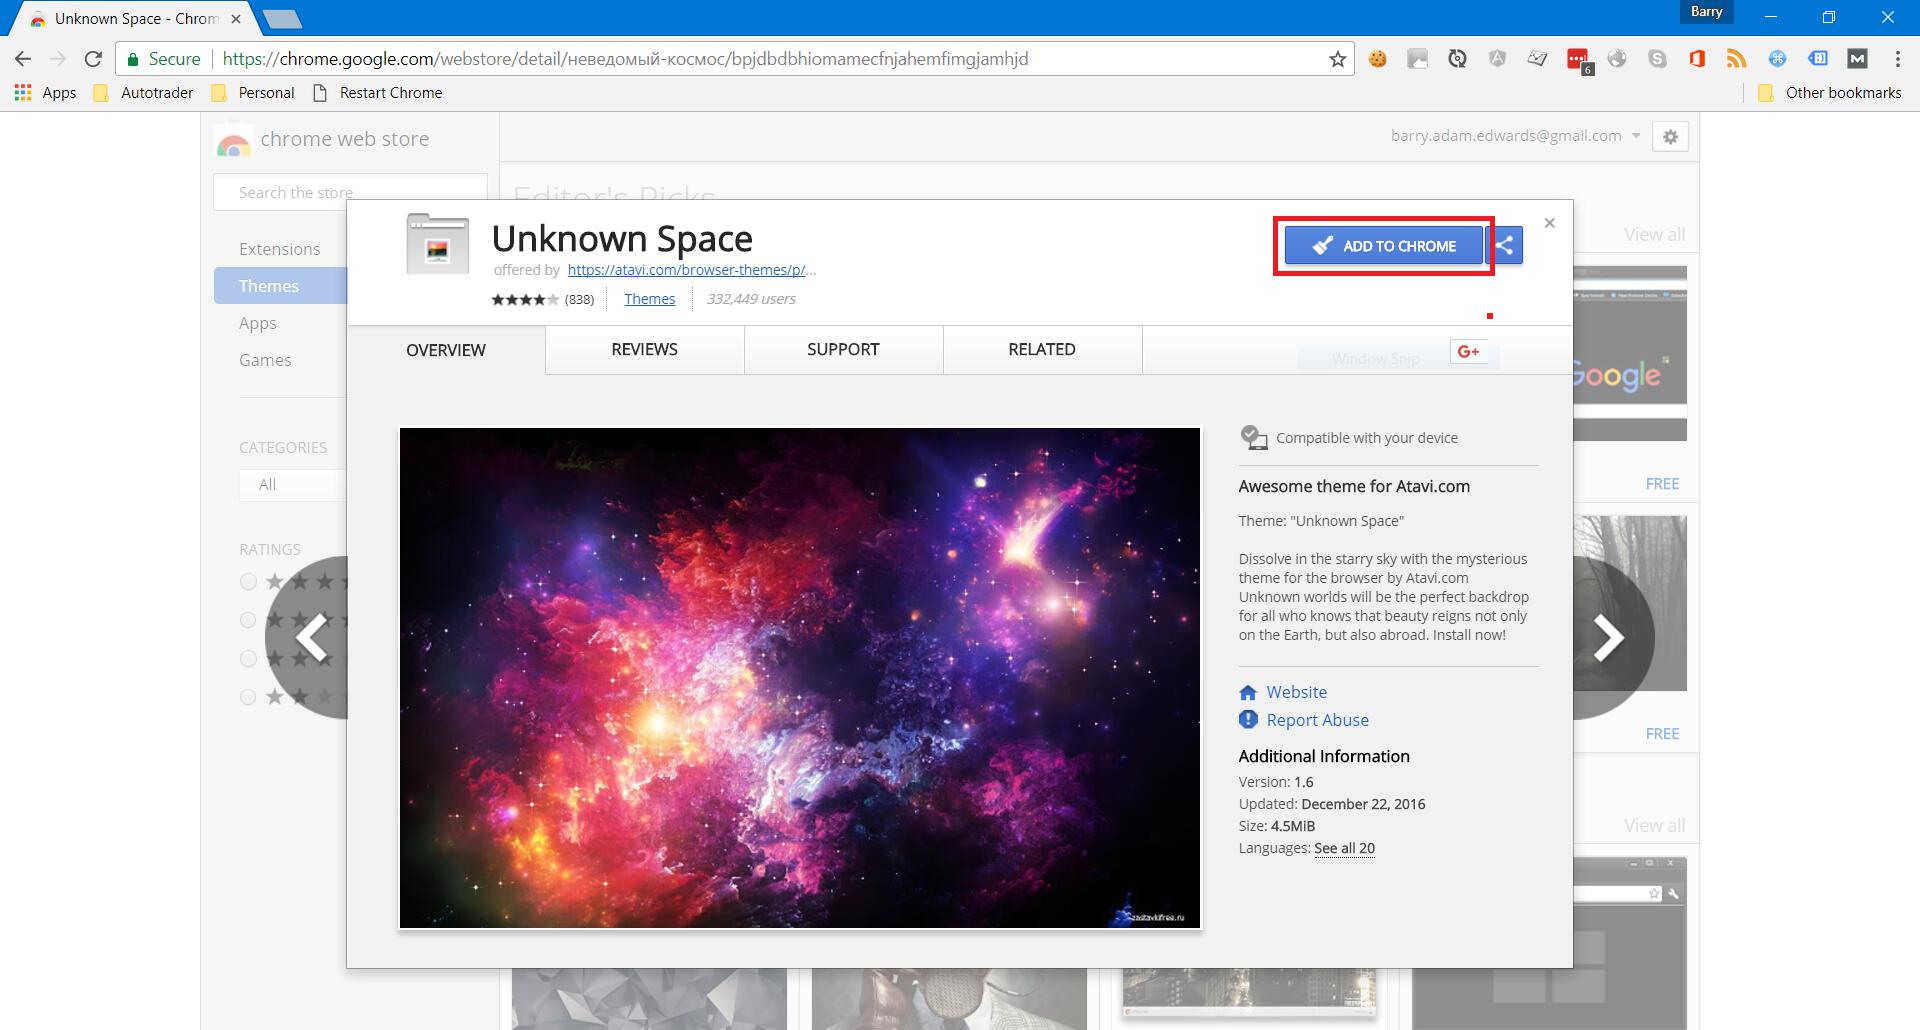
With Chrome installed, you need to install a theme. Any theme will do because we'll be customizing it soon so that you can add your own photos etc.
Simply head over to the Chrome Web Store, find a theme that you like, and hit "Add to Chrome".
Step 4:
For this next step, we need to find the folder containing your theme.
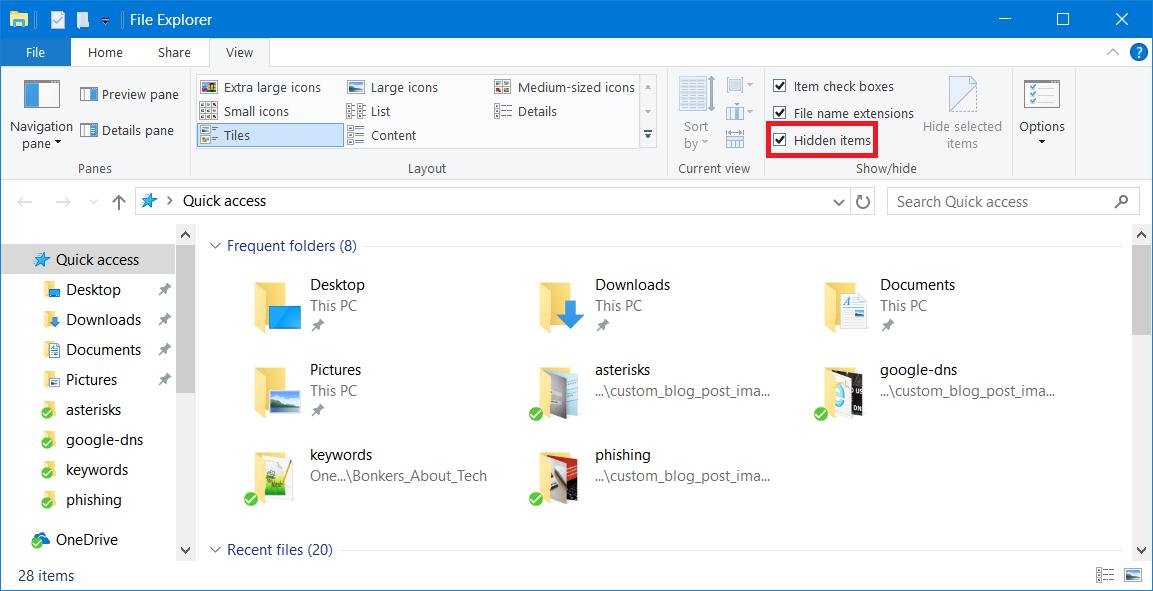
If you're a Windows user first make sure hidden files are shown in Windows Explorer. Simply open a new Explorer Window, click on the View tab and tick the "Hidden Items" checkbox.
Once you've enabled hidden items, you can then navigate to the following directory, but replace "*Username*" with your own username:
C:Users*Username*AppDataLocalGoogleChromeUserDataDefaultExtensions
If you're a Mac OS X user, then open the Terminal and type defaults write com.apple.finder AppleShowAllFiles YES to show hidden files. Then navigate to ~/Library/Application Support/Google/Chrome/Default/Extensions to find the folder containing Chrome extensions.
Step 5:
Once you're in the above directory we need to find the theme that you've just installed. It's in one of the folders with random letters.
You should be able to find it easy enough though by clicking on "Date modified" and sorting by most recent first. The most recent folder will be your newly installed theme.

Once you've located this folder, double click to open it and there should be a version folder. Double click and open this folder too, and inside there should be a file in there called manifest.json.
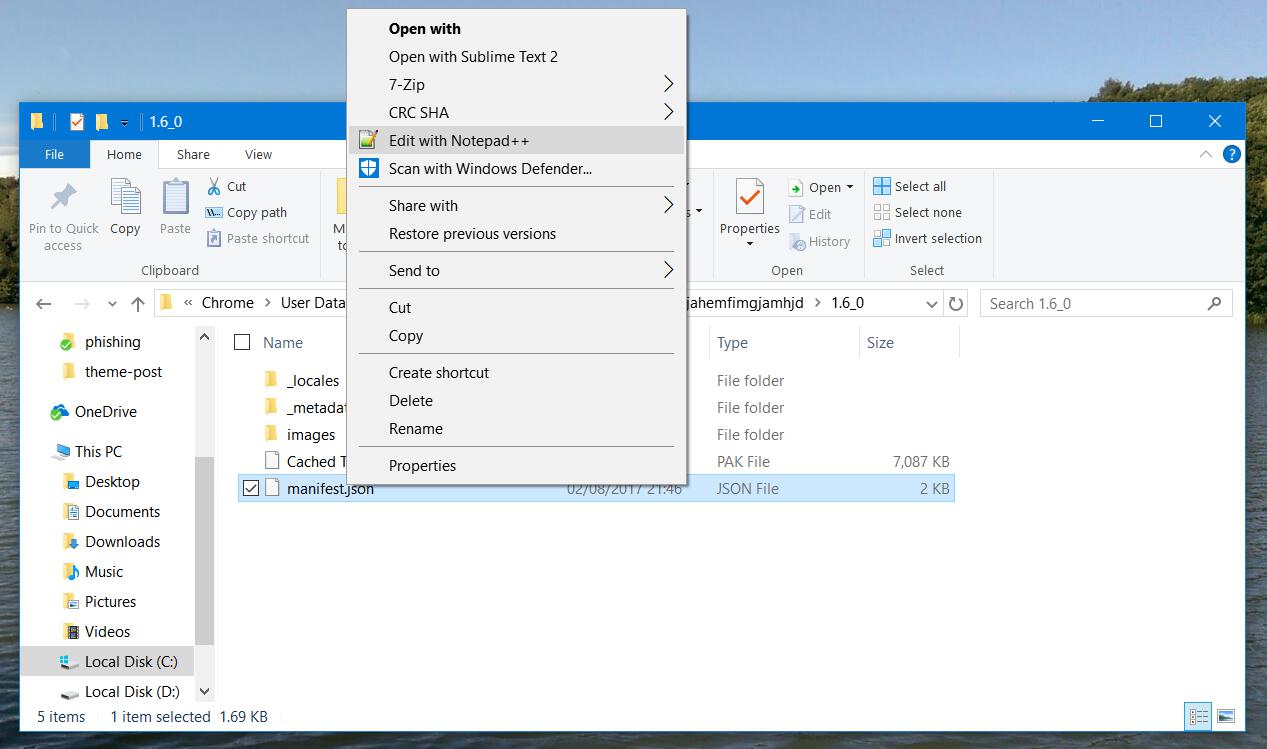
Edit "manifest.json" with your favourite text editor and you should see something similar to the following:
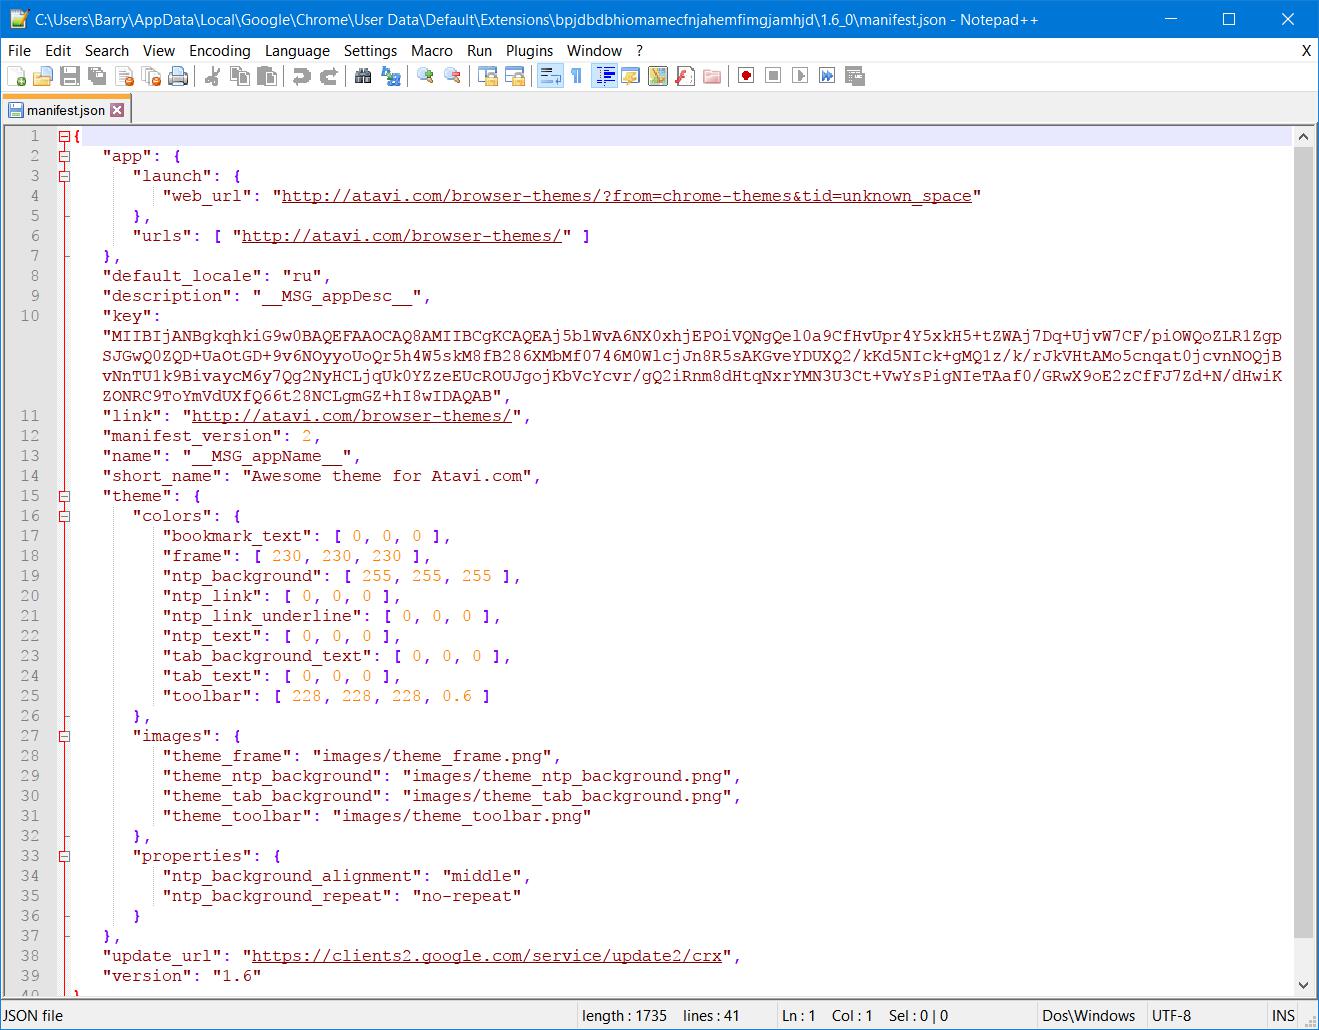
The bit that we're interested in is the "theme" section which contains colors, images, properties and tints, which you're free to edit and customize.
It's not obvious what each of these mean though, so check Google's documentation.
The colors are straightforward though, they change the color of the text and are in RGB format. You can pick a color and get the RGB values from an online color picker such as this or this.
Step 7:
Now to change the image of the theme, we need to look at the "images" section of the manifest.json.
There are various images within the "images" section, but the one that we're interested in is theme_ntp_background.
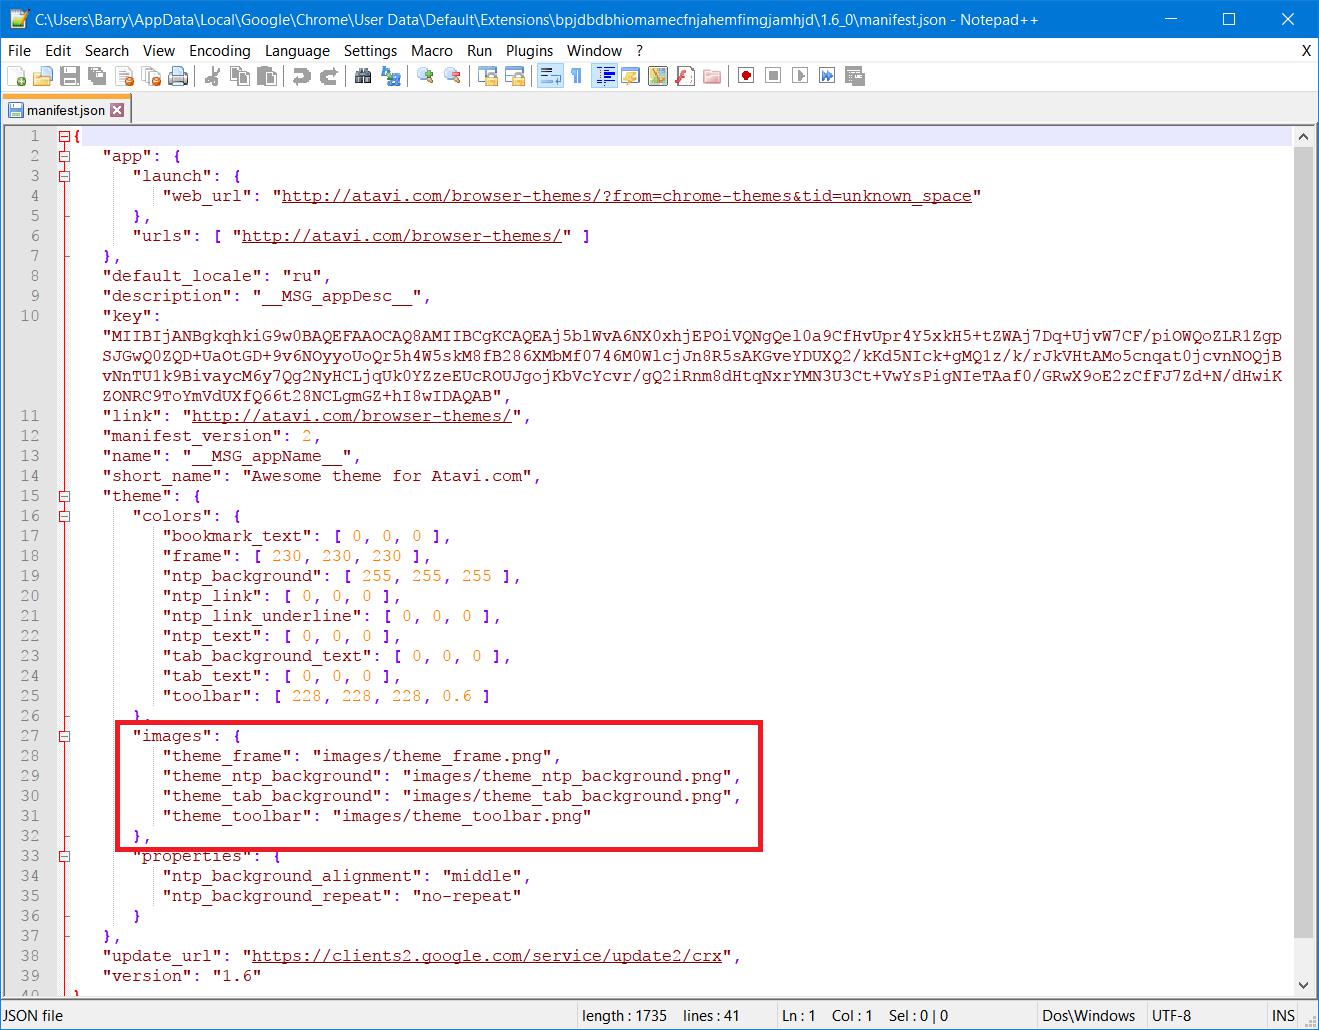
The images themselves are stored in the "images" folder. So grab the image that you'd like to use and drop it into the images folder (in the same directory as your manifest.json).
Once you've done this, modify the manifest file so that "theme_ntp_background" points to your new image.
So, for example, if your image is named "my_new_theme_image.jpg", then you'd change the manifest file on line 29 to the following:
"theme_ntp_background": "images/my_new_theme_image.jpg"
Save changes to the manifest file and close your Notepad application.
Step 8:
Now at this stage, the changes that you've made won't have any effect. You need to add your changes as a new theme to Chrome.
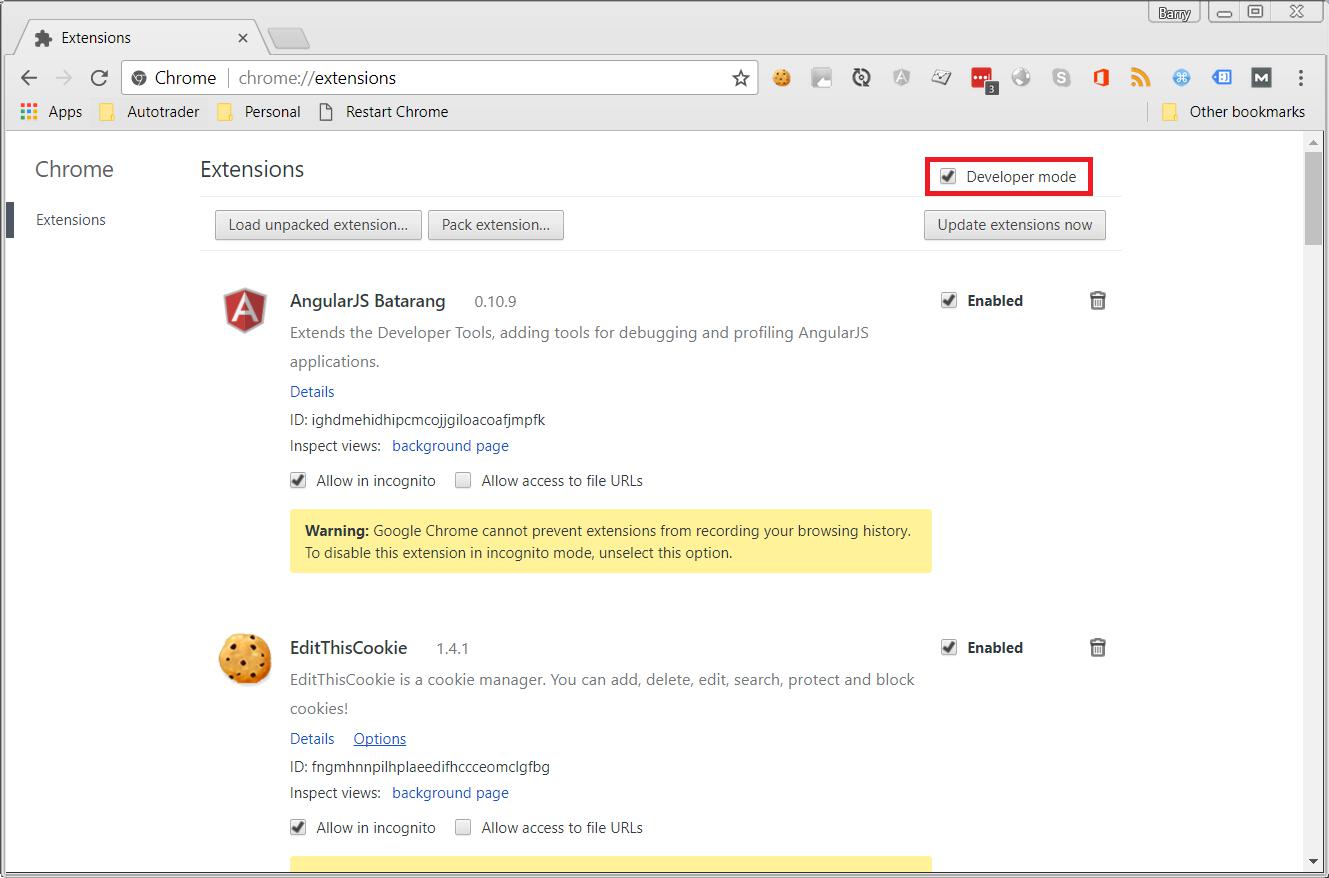
To do this, open a new tab in chrome and type "chrome://extensions" into the address bar and hit enter.
Then tick the "Developer mode" checkbox in the top right of the window:
Step 9:
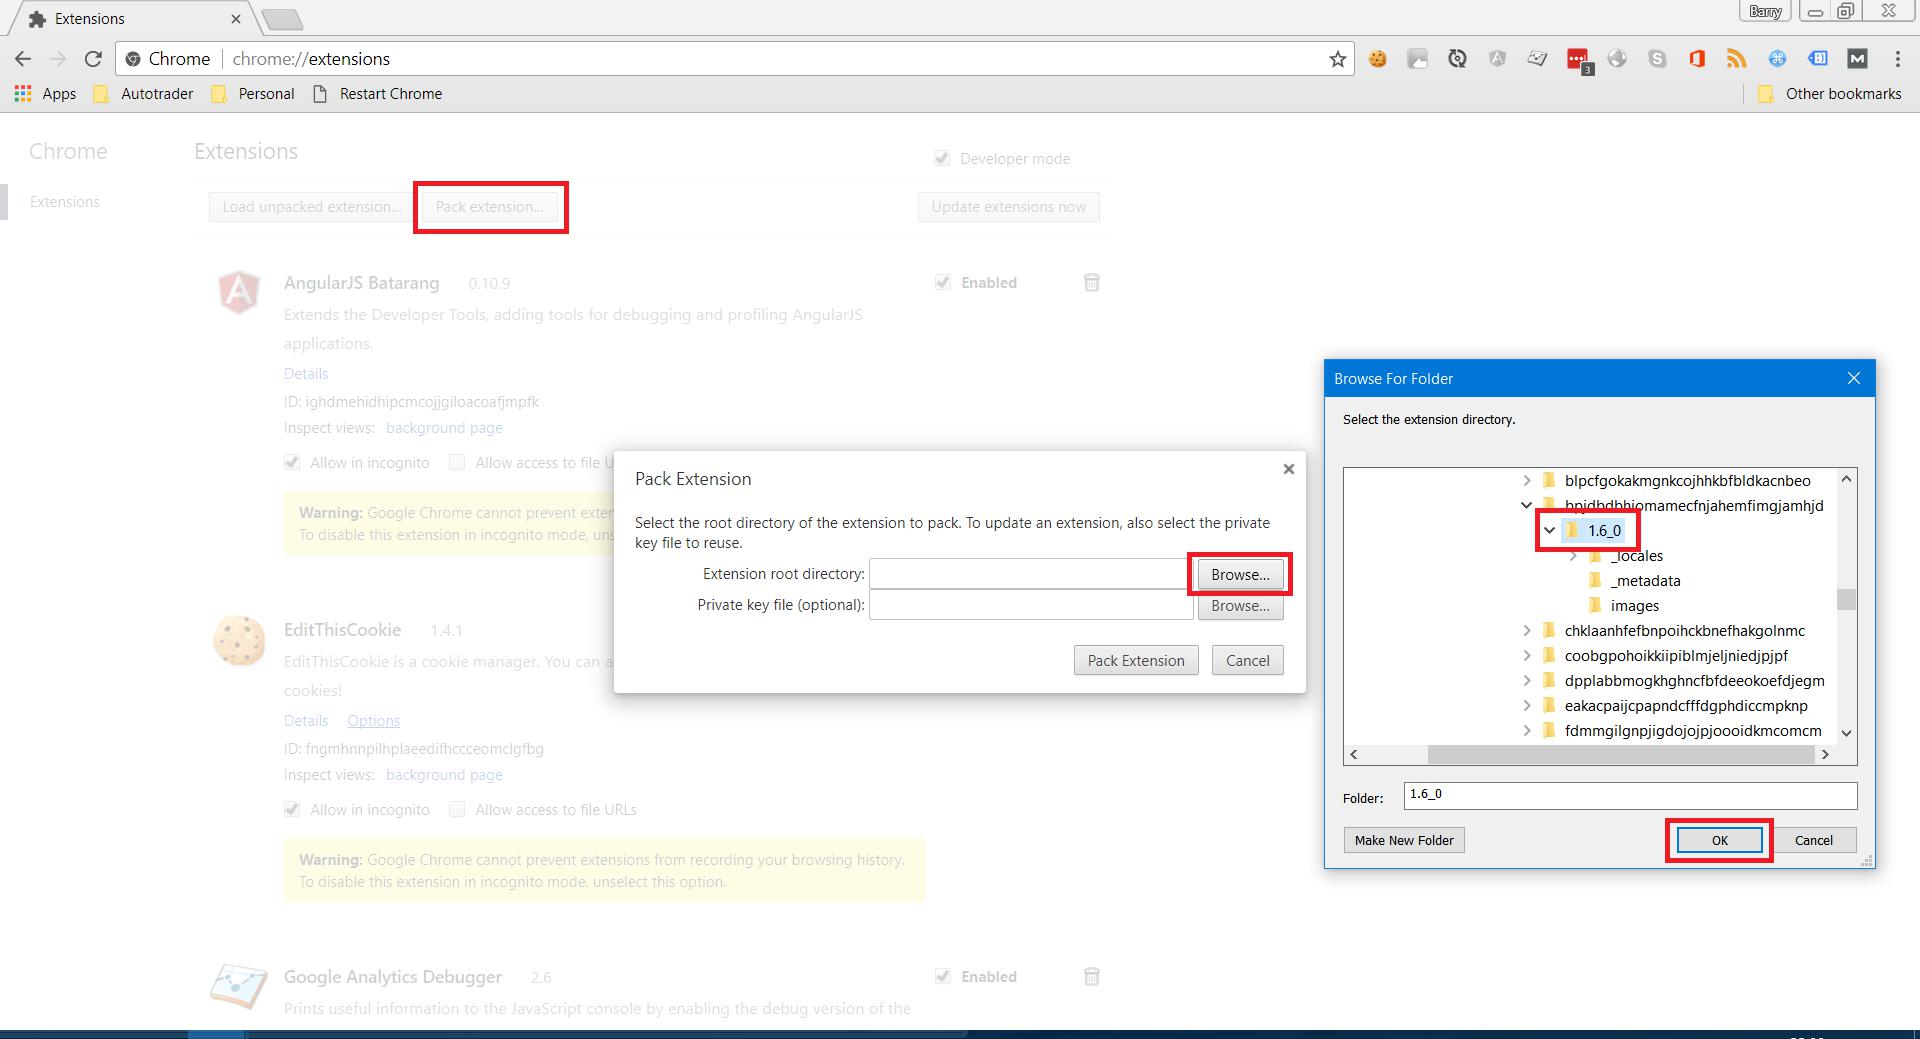
Next click the "Pack extension…" button and in the window that pops up, click browse next to the "Extension root directory".
In the "Browse For Folder" popup, locate the version folder in your theme's extension directory, select it, and then hit OK.
Step 10:
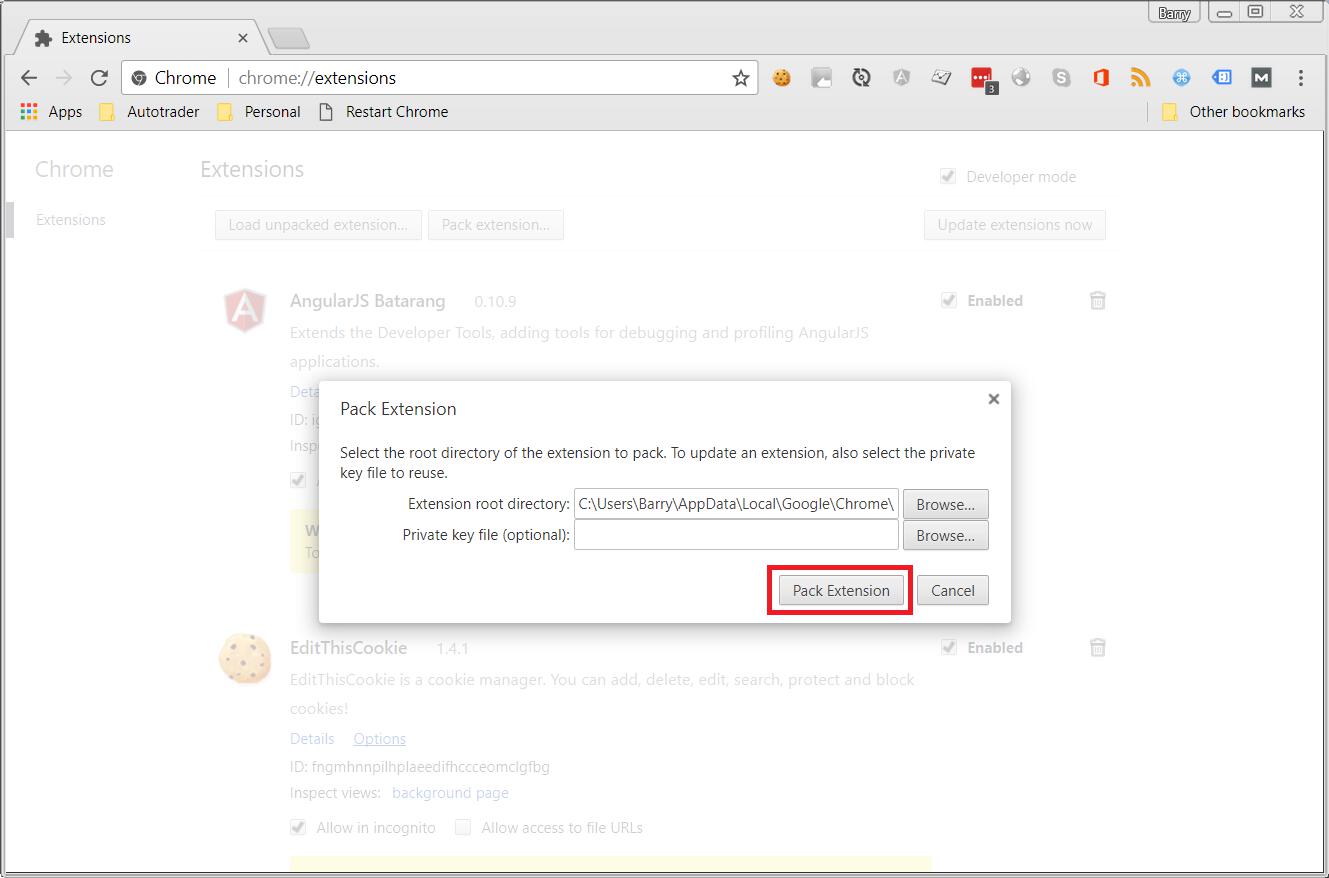
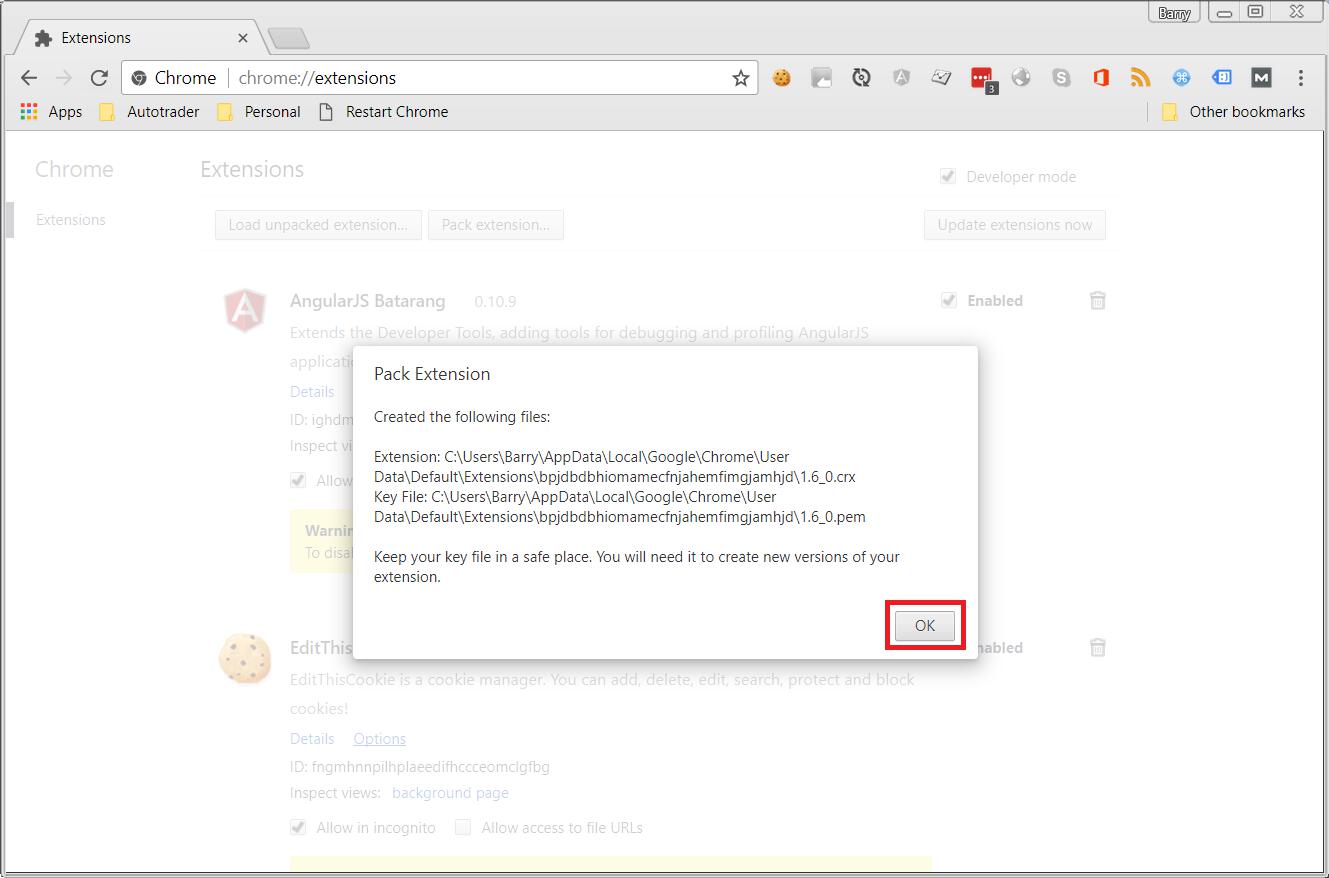
In the Pack Extension dialog, hit the "Pack Extension" button.
You should then see the following dialog saying "Created the following files:". Hit OK.
Step 11:
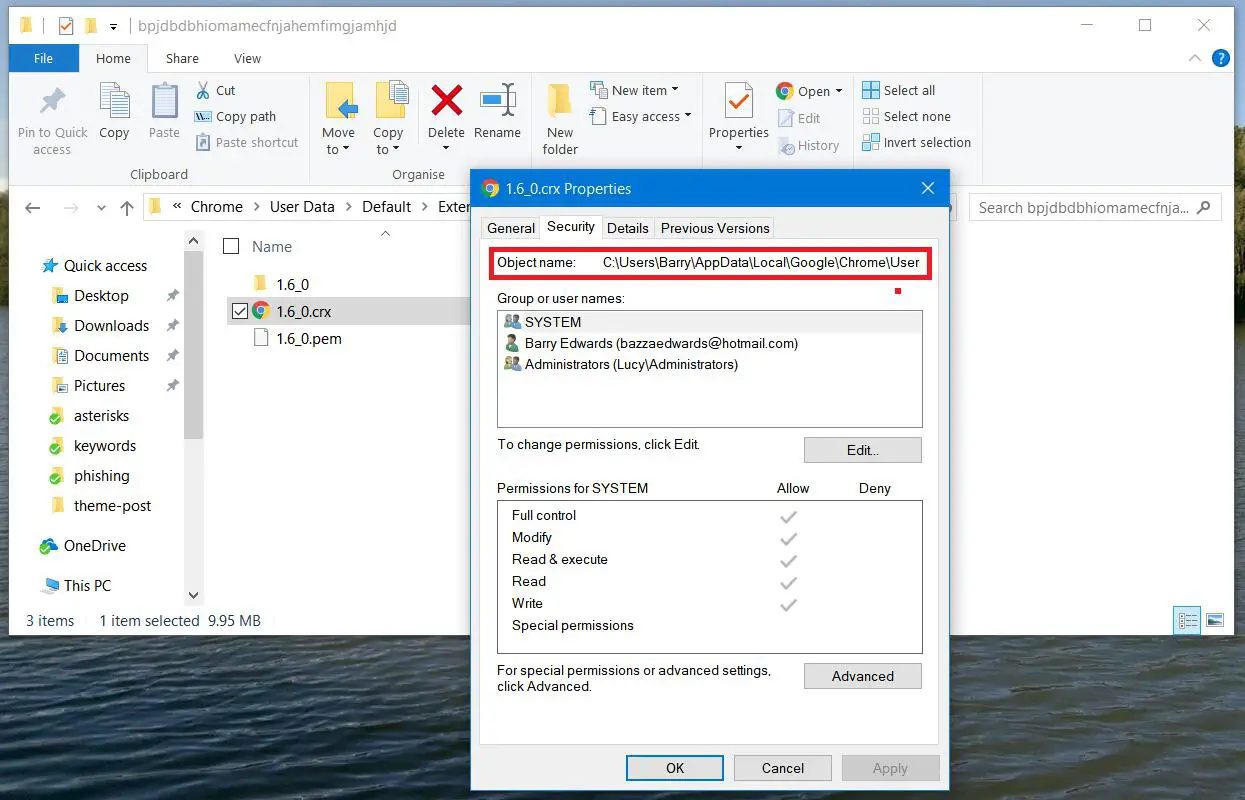
Navigate to the theme's folder again (the one named with random letters) and you should see a new file in there now ending in ".crx".
This file is basically your new theme.
Now we need to open this file with Chrome. To do this, right-click on the file and choose Properties. In properties, select the "Security" tab and highlight and copy the "Object name" to the clipboard which is the exact path to your theme's .crx file.
Step 12:
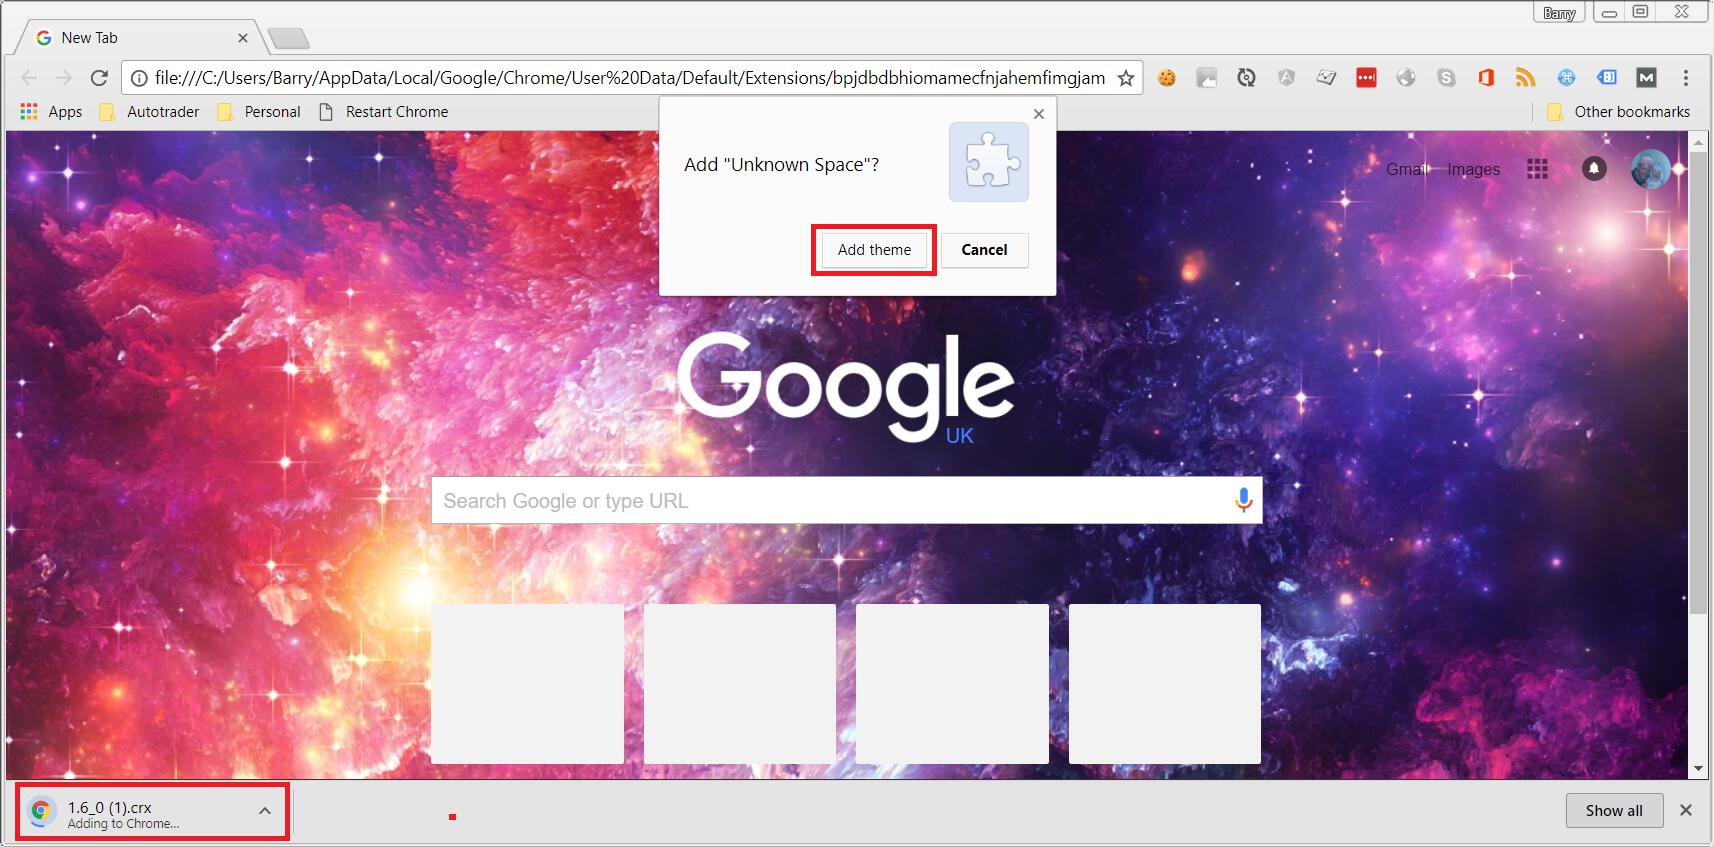
Once you've copied this path, go to Chrome and paste it into the address bar and hit Enter. You will then get a popup asking you to add the theme to Chrome, hit "Add theme".
So that's it guys, there's quite a few steps there, but hopefully I've explained it in enough detail so that you don't get stuck. If you do get stuck, or if I've left anything out, don't hesitate to let me know in the comments. I'll be more than happy to help you out.
On the other hand, if you've got this far, you should have a brand new personalized theme with your own images. Well done!
Cheers!